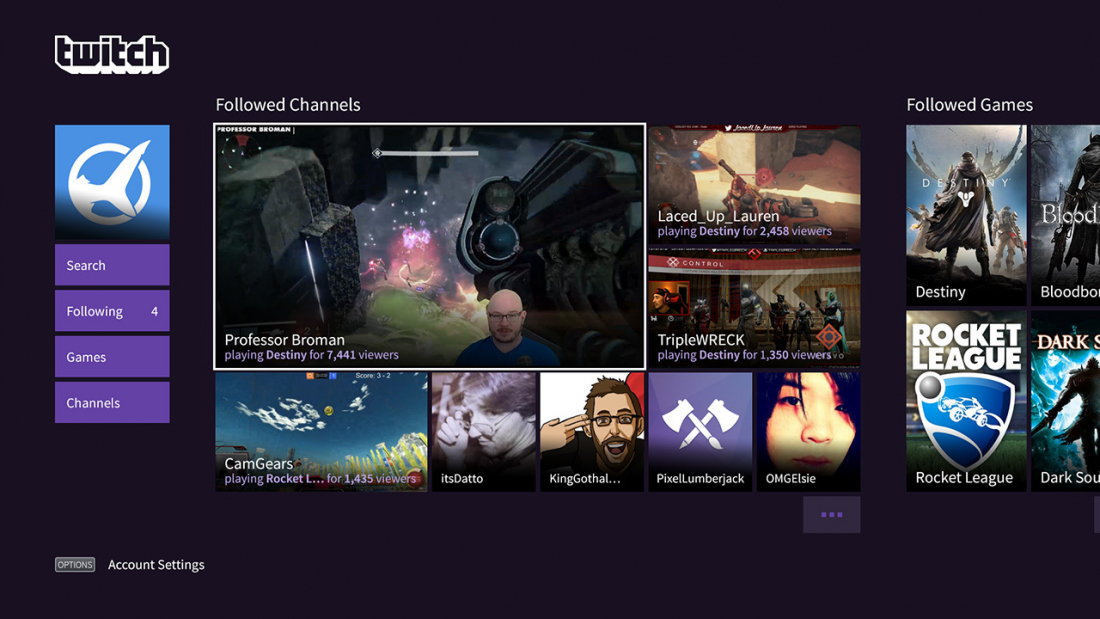
Archiving Twitch.tv Streams: A Comprehensive Guide for Content Creators


As a content creator on Twitch, recording your broadcasts is crucial for building your identity and connecting with your fans. If you're seeking to save memorable moments, create highlights for social media, or keep a record of your live sessions for later use, having a dependable archiving method is crucial. This tutorial will walk you through the steps of recording, saving, and storing Twitch content, VODs, clips, and features, arming you with the tools needed to preserve your streaming journey.
The need for effective Twitch content recording is more apparent than ever. With viewers always hungry for fresh content, having access to your past broadcasts can assist you develop captivating clips and generate new audiences. By mastering various recording methods across multiple platforms and devices, you'll not only improve your content strategy but also ensure that your precious moments are never lost. From using computer recording applications to looking into browser-based solutions, we'll cover it all in a detailed, step-by-step manner.
Capturing Techniques for Twitch Streams
As trying to record Twitch.tv broadcasts efficiently, having the right equipment and applications is essential. A high-quality capturing setup generally includes a reliable microphone, a premium webcam, and dedicated broadcasting tools like Open Broadcaster Software or Streamlabs OBS. These tools enable you to record both audio and video seamlessly. Moreover, configuring the preferences to align with your desired quality and bitrate will make sure your content is aesthetically pleasing and easy to view.
If you are using Windows or Mac, there are multiple choices to explore for capturing. On Windows, applications like OBS or Bandicam can offer advanced functionalities and user-friendly dashboards. Those on Mac can leverage tools like QuickTime alongside OBS for robust performance. Don't forget to test different capturing methods, such as adjusting the audio levels and experimenting with graphics, to enhance audience interaction during your streams.
To streamline your capturing workflow, consider using browser-based recording tools that allow for fast installation and simple use across platforms. This can be especially beneficial for on-the-go Twitch.tv recording. Regardless of the method you choose, pay attention to audio and visual quality to uphold a professional standard. This not only helps in content preservation but plays a significant part in your overall streaming expansion strategies.
Downloading and Storing Twitch Material
To efficiently archive your Twitch.tv streams, you’ll need to understand how to save and store VODs, clips, and highlights from your profile. Twitch.tv provides a integrated feature that allows users to save their past broadcasts as VODs, but if you need to download these for extended safekeeping, you will need to make use of additional tools. Various PC recording software solutions or online recording tools can help you obtain top-notch content directly from your session without compromising on audio and video fidelity.
When it comes to downloading Twitch clips, you can use manual download methods or manually them to your chosen storage solution. Some tools are designed to help creators acquire clips in bulk, making the process better. Furthermore, it’s important to focus on resolution and bitrate to ensure that the captured clips meet your requirements for upcoming edits in edits or highlights. Organizing your stored content systematically will aid in simpler retrieval and organisation later on.
Long-term storage of your Twitch recordings is necessary for content creators who want to keep their work. Consider options like outboard hard drives, cloud storage, or custom archiving services. Legal issues, such as copyright guidelines, must also be acknowledged when sharing your saved content. Implementing proper content backup strategies will help secure your creations and assist your growth as a content developer.
Archiving Strategies for Video on Demand and Highlights
To efficiently store VODs and highlights from Twitch, it is crucial to establish a reliable strategy. First, utilize reliable recording applications or built-in features that enable you to capture streams in HD. For Windows users, programs such as OBS Studio or Streamlabs enable advanced settings for resolution and bitrate, ensuring that your content preserves audio and video quality during the recording process. Mac users can turn to tools like ScreenFlow or QuickTime, which also allow for high-quality captures. Be sure to set your equipment to record at the highest resolution possible to preserve as much detail as you can.
Organizing your recorded content is another vital aspect of archiving. Create StreamRecorder for Mac on your storage device, organizing VODs, clips, and highlights by date or event. This makes it simpler to locate specific content when needed. Additionally, consider using cloud storage solutions for backups, as they offer protection against hardware failures and allow for easy access across multiple devices. Be sure to frequently update your storage plans to account for new content and to guarantee space availability for future recordings.
Finally, pay attention to legal considerations when archiving your content. Familiarize yourself with fair use guidelines to confirm that your recordings do not infringe on copyright laws. Be cautious when using music or other protected materials in your streams, as these can impact the monetization potential of your archived content. By staying informed and adhering to content creator tools that help manage these legal aspects, you can safeguard your Twitch recordings and aid to your channel's growth.
Legal Issues Considerations for Content Creators
When storing Twitch streams and content, it is crucial for creators to be aware of the legal landscape regarding their recordings. Twitch's User Agreement and community guidelines outline particular regulations about the use and distribution of content. Creators of content should note that while they have authorization to utilize their own streams, using protected audio or game footage without permission can lead to potential takedowns or strikes against their profile.
Fair use is a frequently mentioned term, but its application can be complicated. Creators must understand that using clips from other creators or protected materials may fall under fair use in some situations, such as critique or teaching motives. However, this is not a guaranteed protection, and makers should evaluate whether their use qualifies as fair use by considering elements such as purpose, quantity utilized, and effect on the economy for the source material.
Moreover, creators should be mindful of the licensing agreements of the titles they broadcast and their own content creation. Some games or distributors might require explicit permission to use their content, especially for making money. Consequently, it is wise for creators to keep abreast of licensing rules to avoid any legal pitfalls that could impact their ability to archive and profit from their Twitch streams.
Enhancing Streaming Quality and Storage Solutions Solutions
To ensure superior recordings of your Twitch streams, it's crucial to optimize sound and visual settings. Select a resolution that aligns with your material and audience tastes, commonly 720p or 1080p, while also taking into account your internet bandwidth. Bitrate adjustments can enhance audio fidelity and video clarity, so testing different settings will assist you determine the optimal combination for your setup. Using a professional recording tool designed for Twitch can assist you achieve exceptional audio and video quality, enhancing the viewing experience for your audience.
When it comes to archiving solutions, it is necessary to strategize for long-term archiving of your content. Utilize Download Twitch VODs from multiple channels free or cloud storage services for backing up recorded streams, VODs, and clips. This guarantees that you keep a safe and structured library of your content. Establish a system to organize and label your recordings according to date, type, and content theme, which makes it simpler for you to retrieve specific videos. Regularly clearing out unnecessary files will also help ensure optimal storage space without sacrificing valuable recordings.
Finally, think about integrating content backup strategies that facilitate the recording and saving processes. Employing browser-based recording tools or desktop software can simplify capturing multiple clips and highlights while exporting them directly to your preferred storage method. This efficiency allows you to focus on content creation rather than the details of archiving. By establishing a high-quality recording configuration combined with effective storage and backup methods, you can retain your Twitch streams for future use and growth.